Fill the grout bag about 13 of the way. This method works very well on floors large walls and smooth glass or subways tiles on backsplashes.
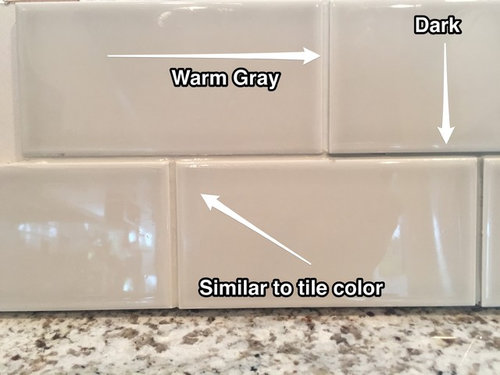
Backsplash Tile Grout Color
Think of it as a pastry bag but for use with grout instead of frosting.
. Squeeze the grout bag with consistent pressure and move the tip of the grout bag along the joint to create a line of grout between tiles. Cut the tip close to the end of the bag. Cut off the tip of the grout bag with scissors or utility shears.
Twist the top of the bag until the grout starts to come out of the tip. Hold the grout bag with one hand in the middle and one hand at. This will prevent the grout from hardening before you can use it all.
Use a 45-degree angle spreading the grout firmly in an upward direction. Firmly press the substance between the tiles where the empty space exists. Only mix enough grout to work in a small area.
Cover the entire surface of the mosaic tiles with grout spreading it with a grout float. Allow the grout to dry for 15 minutes. Let the Grout Dry.
If youre looking to have the best results you should press the grout firmly in between the empty spaces of the backsplash tiles at a 45-degree angle. Start by mentally breaking the backsplash into separate smaller sections focusing on one section at a time. In this regard you have to let the grout dry for 15 to 20 minutes.
Use a trowel to fill the bag about half-way. Professionals recommend unsanded grout for gaps measuring less than ⅛-inch and sanded grout for larger gaps. Working diagonally apply the grout across the tiles.
The location of the cut determines the amount of mortar that can pass through the tip. Buff away the excess after 10 minutes then apply the grout. That is where you use your plastic sheeting.
Apply thinset mortar to the backsplash wall using a tile trowel. Before applying a sealer be sure to clean your grout thoroughly and repair any cracks or crumbles in the grout lines. Grouting and Filling Holes Begin by coating the tiles using an impregnating sealer but only coat the surface of the tiles and avoid getting sealer into the holes.
Mix grout in separate container when the usage of a grout bag Mix the grout in a separate container. This will lay down an even bead of the grout. The rule of thumb is if your grout joint is 18 inch or smaller then you want to use a non-sanded grout.
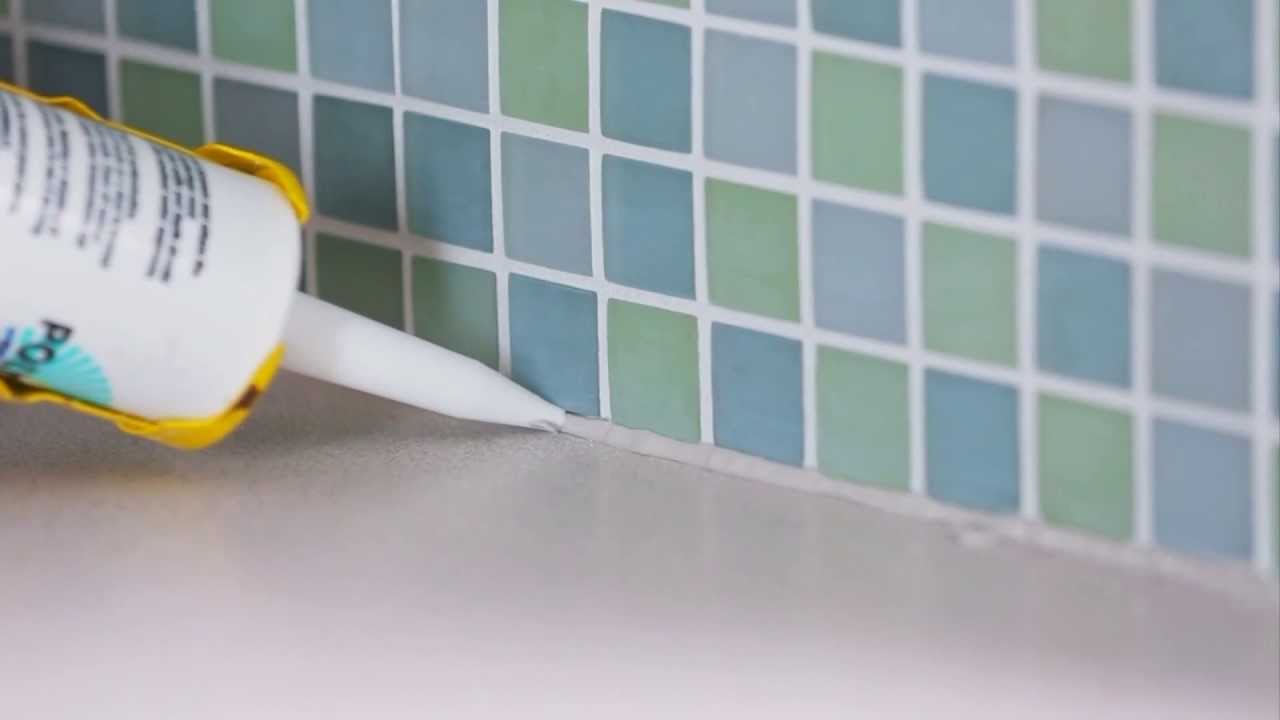
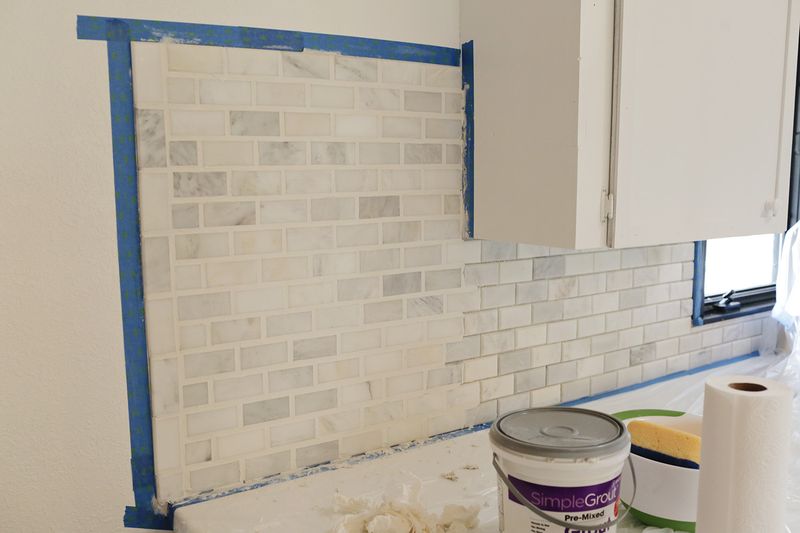
Determine the area you want to grout. In addition secure the corners of the counter with the painters tape. How To Grout Tile Joints Traditionally tile grout is installed using a rubber trowel to press the grout into the joints.
Once you put grout into the bag shake it to relieve any air pockets. Hold the bag over your bucket of grout and shake it to remove bubbles. The grout should over fill the gap just a little so that you have enough to tool later.
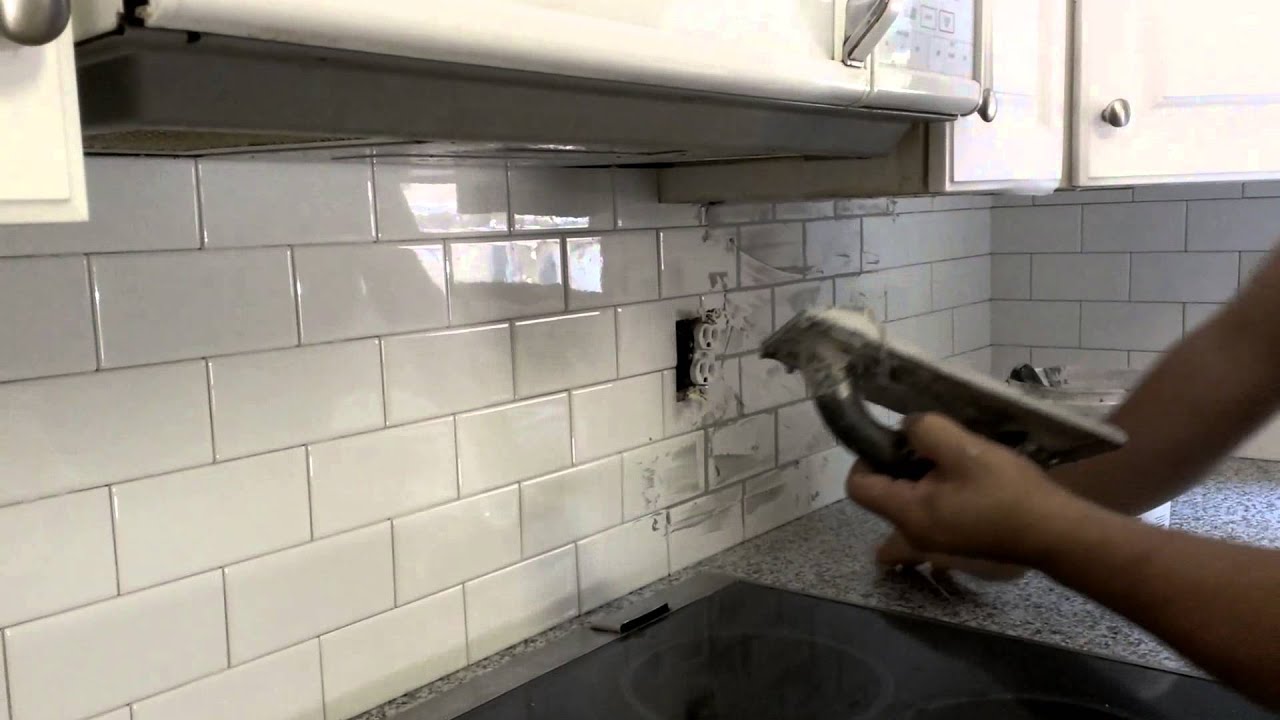
Use the rubber float for this and press the grout into the joints between the tiles. A 25-pound bag of dry grouting compound when mixed with water usually is sufficient to grout around 200 square feet of typical 4 14-inch square ceramic tile that is 14 inch thick with 18-inch grout lines. Steps to grout your tile backsplash.
Work in small areas to begin applying the grout. Apply the mixture by spreading the substance over the tiles using a float. Once you have the material at hand the first step is to protect your countertops.
Twist the end of the bag and squeeze as you move the tip along the gap. You can handle the bag much better and be able to focus the bead where you want it. To use fill the bag with the prepared grout.
Working at a 45-degree angle spread the grout upward. Hold the grout bag with one hand in the middle and one hand at the end where it is twisted. Once you have laid out all your backsplash tiles wipe off any excess mortar.
So cover the entire top surface with plastic sheets to protect it from the grout mixture. Mix grout according to the directions on the package. However for our project we are faced a couple of issues that make the traditional method hard to do.
Hold the grout bag at a 45 angle to the work surface and apply pressure to the top of the grout. To put the grout you need to use a grout float to spread the mixture over your tile joints. A grout bag is how one can apply grout to an area the place you want a small amount the grout will stain the tile or it will be difficult to remove as soon as it has dried.
Furthermore how much grout do I need for backsplash. Put the tip of the bag in the space between the bricks at a 45 degree angle. An alternative to the float is a grout bag.
Pointers for the use of A grout bag doityourself com. If youre looking for grout application tips for porous or uneven tiles this may be your solution. Spread it over the tiles to fill the joints using the grout float.
Grout Application On A Kitchen Backsplash Youtube
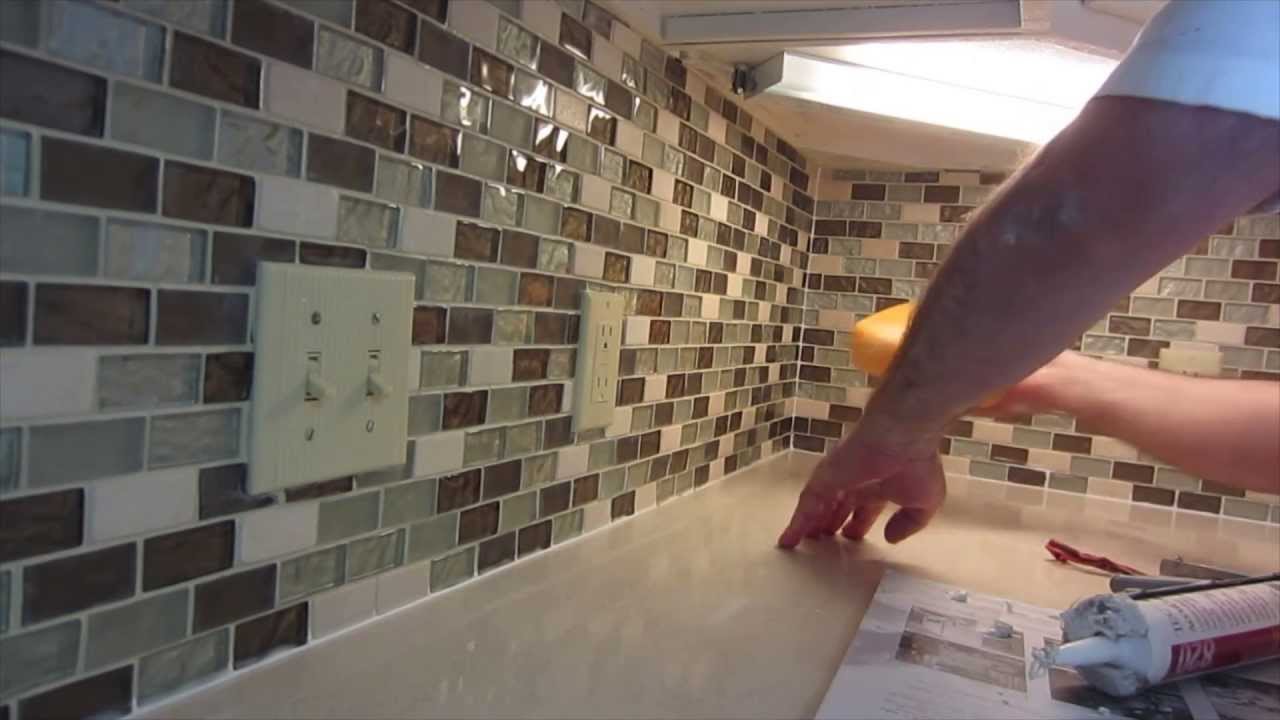
How To Install Glass Mosaic Tile Backsplash Part 3 Grouting The Tile Youtube
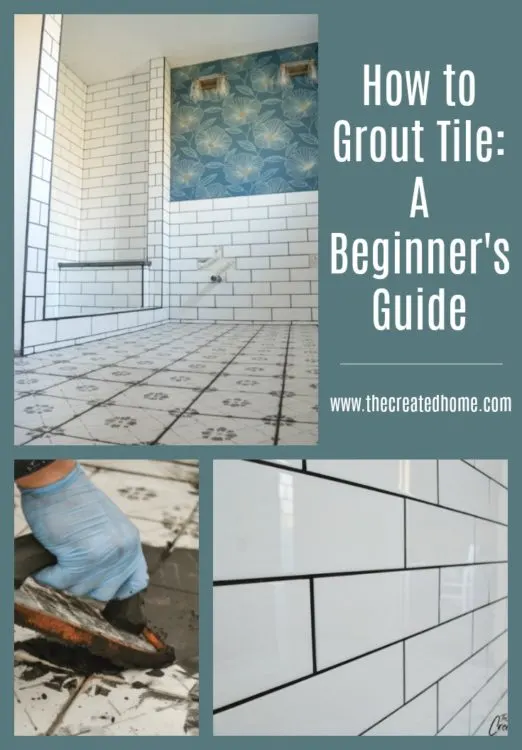
How To Grout Tile A Beginner S Guide The Created Home

How To Grout A Tile Backsplash Like A Pro
![]()
How To Grout A Backsplash Using A Pastry Bag Speeds Things Up

How To Grout A Backsplash Using A Pastry Bag Speeds Things Up
How To Grout A Backsplash Youtube
Emma S Kitchen Backsplash A Beautiful Mess
0 comments
Post a Comment